Sign in

Canvas

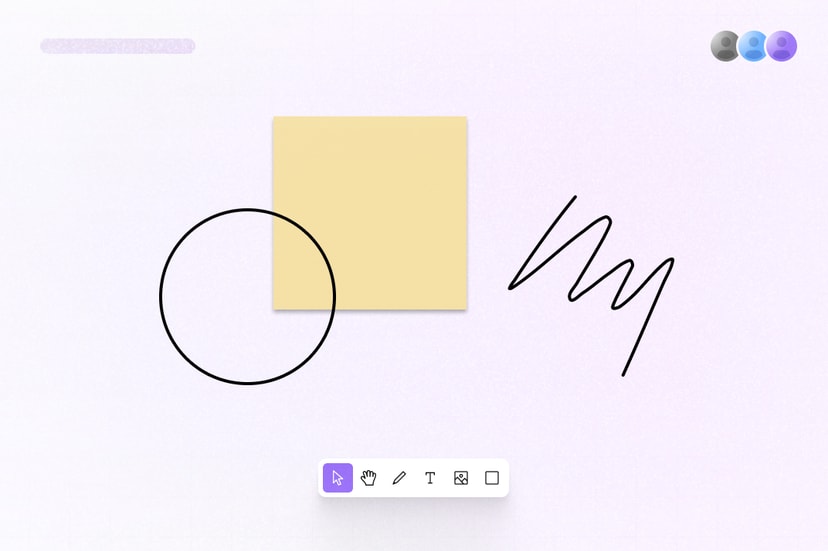
Create a collaborative canvas, whiteboard, or design tool with Liveblocks. Start with a ready-made canvas, or create something custom. Add draggable objects, show live cursors, upload images, use version history, and add multiplayer undo/redo.
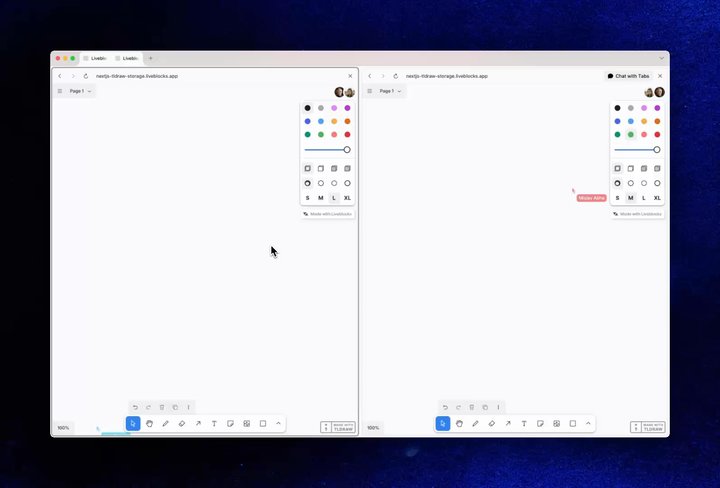
Example of a collaborative canvas

Multiplayer editing in the Tldraw Whiteboard example

Features

  • Realtime collaboration: Canvas state is permanent and updates in realtime for connected users.
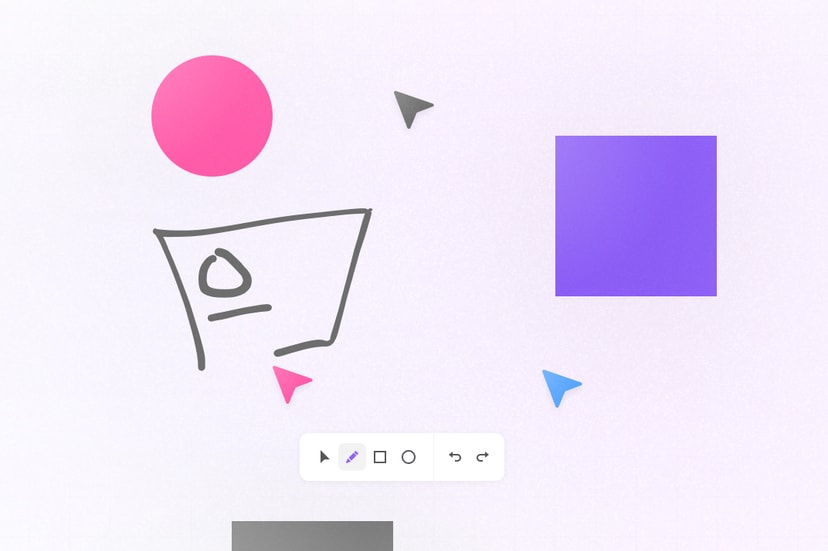
  • Presence: Show live cursors, avatar stacks, realtime selections, and agent activity.
  • Server-side editing: Modify the canvas from a trusted back end.
  • Agentic editing: Generate and apply validated canvas changes with AI.
  • Version history: Save, preview, and restore canvas state from snapshots.
  • Multiplayer undo/redo: Each user can independently undo and redo their own changes.
  • File uploads: Upload images and other assets to the shared canvas.
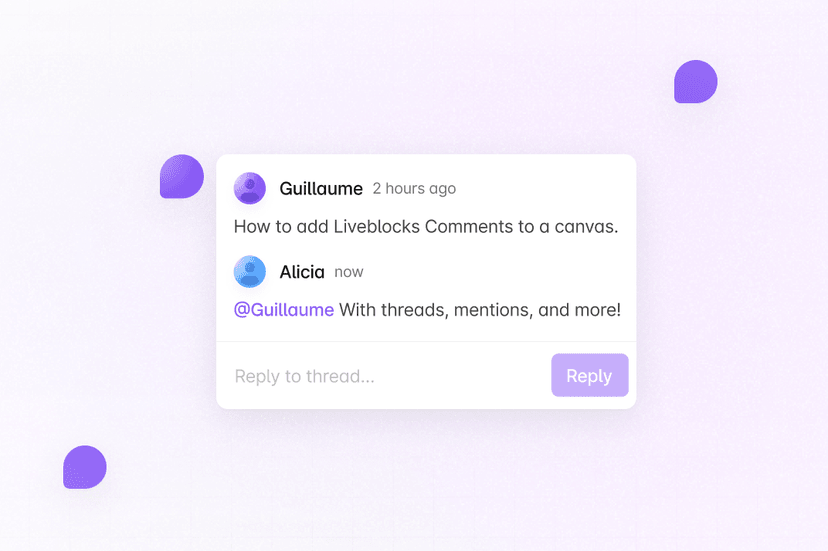
  • Comments: Add draggable commenting threads to the canvas.
  • Permissions: Control which users can read and edit the canvas.

Get started

Choose a starting point for your canvas.

Implementation

This is an overview of how each feature can be implemented—though if you’re using a ready-made integration such as Tldraw, some of these features may work out of the box. Store persistent objects, layer order, and LiveFile references in Sync. Keep temporary cursors, selections, and active tools in Presence, and use Comments for discussions attached to canvas coordinates or objects.

Realtime collaboration

Using Sync, you can add realtime collaboration to your canvas. One way to build this is to store canvas objects in a LiveMap, keyed by stable IDs, and create each shape in the canvas as a LiveObject. With useStorage you can render each shape on your canvas.

import { useStorage } from "@liveblocks/react/suspense";
function Canvas() { const shapes = useStorage((root) => root.shapes);
return ( <div style={{ position: "relative" }}> {Object.toEntries(shapes).map(([id, shape]) => ( <div key={id} style={{ position: "absolute", left: 0, top: 0, transform: `translate(${shape.x}px, ${shape.y}px)`, backgroundColor: shape.color, }} /> ))} </div> );}

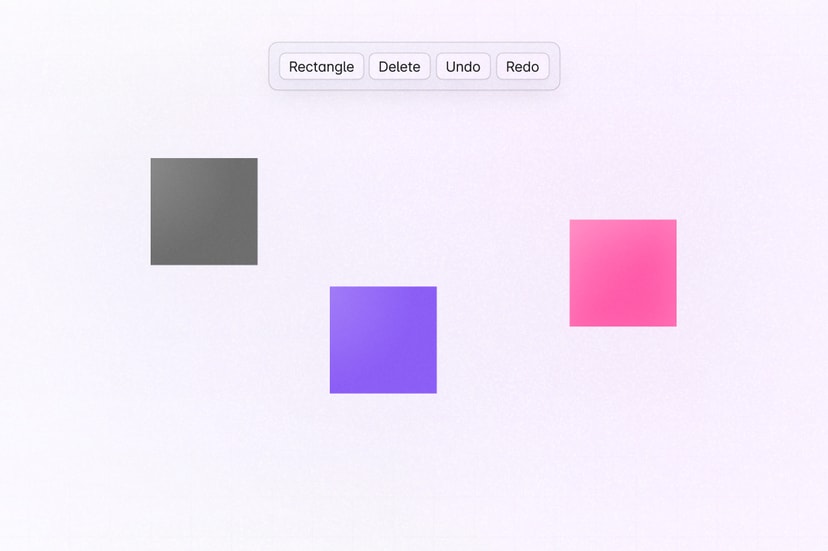
To update shapes, add mutations with useMutation, for example for adding, moving, and deleting shapes. Mutations are applied optimistically and synchronized through Sync, including every position update while a shape is dragged.

import { useMutation } from "@liveblocks/react/suspense";import { LiveObject } from "@liveblocks/client";
const addShape = useMutation(({ storage }) => { const newShape = new LiveObject({ x: 10, y: 50, color: "blue", });
const shapes = storage.get("shapes"); shapes.set("shape-2", newShape);}, []);
const moveShape = useMutation( ({ storage }, id: string, x: number, y: number) => { const shapes = storage.get("shapes"); shapes.get(id)?.update({ x, y }); }, [id]);
const deleteShape = useMutation( ({ storage }, id: string) => { const shapes = storage.get("shapes"); shapes.delete(id); }, [id]);

For smoother motion, set the throttle on LiveblocksProvider to 16, making your canvas run at 60 frames per second.

import { LiveblocksProvider } from "@liveblocks/react";
function App() { <LiveblocksProvider authEndpoint="/api/liveblocks-auth" throttle={16} > <Canvas /> </LiveblocksProvider>;}

Learn more about setting up a canvas in the custom canvas quickstart guide.

Presence

Using Presence, you can show live cursors, avatar stacks, realtime selections, and agent activity on your canvas. To get started, import our ready-made AvatarStack component.

import { AvatarStack } from "@liveblocks/react-ui";
function CanvasPresence() { return <AvatarStack />;}

To create live cursors, add useOthers and useUpdateMyPresence to get and set user cursor positions on the canvas. Make sure to use a coordinate system that works with your canvas, for example screen coordinates.

import { useOthers, useUpdateMyPresence } from "@liveblocks/react/suspense";import { Cursor } from "@liveblocks/react-ui";
function CanvasPresence() { const others = useOthers(); const updateMyPresence = useUpdateMyPresence();
return ( <div style={{ position: "absolute", inset: 0 }} onPointerMove={ (e) => updateMyPresence({ cursor: { x: e.clientX, y: e.clientY } }) } onPointerLeave={ () => updateMyPresence({ cursor: null }) } > {others.map(({ connectionId, info, presence }) => ( <Cursor key={connectionId} label={info.name} color={info.color} style={{ position: "absolute", left: 0, top: 0, transform: `translate(${presence.cursor.x}px, ${presence.cursor.y}px)`, }} /> ))} </div> );}

Learn more about setting up presence in the Presence quickstart guide.

Server-side editing

Trusted server processes can edit a canvas with Liveblocks.mutateStorage, and changes will be applied and synchronized in realtime. The mutation uses the same Storage data types as the client, and connected users receive the result in realtime.

import { Liveblocks } from "@liveblocks/node";import { LiveObject } from "@liveblocks/client";
const liveblocks = new Liveblocks({ secret: process.env.LIVEBLOCKS_SECRET,});
await liveblocks.mutateStorage("my-room-id", ({ root }) => { const newShape = new LiveObject({ x: 20, y: 60, color: "purple", });
const shapes = root.get("shapes"); shapes.set("shape-2", newShape);});

Read Server-side editing for validation, versioning, bulk mutations, and other document formats.

Agentic editing

To allow AI agents to modify your canvas, generate your changes with AI then use mutateStorage to apply them. To show that AI is working in your app use setPresence to show it working—your agent will appear in Presence alongside humans. Finally, remove the agent’s presence to indicate that the agent is no longer working.

import { LiveObject } from "@liveblocks/client";import { Liveblocks } from "@liveblocks/node";import { generateText, Output } from "ai";import { z } from "zod";
const liveblocks = new Liveblocks({ secret: process.env.LIVEBLOCKS_SECRET_KEY!,});
const roomId = "canvas-room";const agent: Liveblocks["UserMeta"] = { id: "ai-agent", info: { name: "AI agent", color: "#7c3aed" },};
await liveblocks.setPresence(roomId, { userId: agent.id, userInfo: agent.info, data: { status: "thinking", editingId: null }, ttl: 60,});
await liveblocks.mutateStorage(roomId, async ({ root }) => { const shapes = root.get("shapes");
const { output: shape } = await generateText({ model: "openai/gpt-5.6-sol", output: Output.object({ schema: z.object({ x: z.number(), y: z.number(), color: z.string(), }), }), prompt: `Create a purple rectangle. Here is the current canvas: ${shapes.toJSON()}`, });
const newShape = new LiveObject({ x: shape.x, y: shape.y, color: shape.color, });
const shapes = root.get("shapes"); shapes.set("shape-2", newShape);});
await liveblocks.setPresence(roomId, { userId: agent.id, userInfo: agent.info, data: { status: "idle", editingId: null }, ttl: 2,});

Additionally, you can use Feeds to store AI workflow state, and to pass agent status updates to the UI. Learn more under Agentic editing.

Version history

Create version snapshots, manually or automatically, list old versions, and restore to a specific version. Use useHistoryVersions to list versions, useHistoryVersionStorageData to render a read-only preview, and useRestoreToStorageVersion to restore the complete canvas Storage state as one synchronized change.

import {  useHistoryVersions,  useRestoreToStorageVersion,} from "@liveblocks/react/suspense";
function CanvasHistoryVersions() { const versions = useHistoryVersions(); const restore = useRestoreToStorageVersion();
return ( <div> {versions.map((version) => ( <div key={version.id} onClick={() => restore(version.id)}> Snapshot created at {version.createdAt} </div> ))} </div> );}

You can also manually create snapshots with Liveblocks.createVersionHistorySnapshot, and use ready-made components to render the list of snapshots and restore to a specific version. Read Version history to learn more.

Multiplayer undo/redo

Each user can independently undo and redo their own changes with useUndo and useRedo. Additionally, useCanUndo and useCanRedo can be used to disable the undo and redo buttons when the user is at the beginning or end of the undo/redo stack.

import {  useUndo,  useRedo,  useCanUndo,  useCanRedo,} from "@liveblocks/react/suspense";
function CanvasUndoRedo() { const undo = useUndo(); const redo = useRedo(); const canUndo = useCanUndo(); const canRedo = useCanRedo();
return ( <div> <button onClick={undo} disabled={!canUndo}> ↩️ Undo </button> <button onClick={redo} disabled={!canRedo}> ↪️ Redo </button> </div> );}

History can also be paused, resumed, and disabled. Read Multiplayer undo/redo to learn more.

File uploads

You can upload images, videos, and other binary assets to the canvas with useUploadFile. It uploads the file to the current room and you can then attach this to your data tree.

import { useMutation, useUploadFile } from "@liveblocks/react/suspense";
function UploadFile() { const uploadFile = useUploadFile();
const addFileToStorage = useMutation(({ storage }, liveFile) => { storage.set("myFile", liveFile); }, []);
const handleFileChange = useCallback(async (file) => { const liveFile = await uploadFile(file); addFileToStorage(liveFile); }, []);
return ( <label> <input type="file" onChange={(e) => handleFileChange(e.currentTarget.files[0])} /> ⬆️ Upload file </label> );}

Learn more under File uploads.

Comments

Add commenting to your canvas with our Comments product by attaching x/y coordinates to thread metadata. useThreads allows you to loop through existing threads and render them, while the FloatingThread and CommentPin components render a thread at the given coordinates.

import { useThreads } from "@liveblocks/react/suspense";import { Thread } from "@liveblocks/react-ui";
function CanvasComments() { const threads = useThreads();
return ( <div style={{ position: "relative" }}> {threads.map((thread) => ( <FloatingThread thread={thread} open={isOpen} onOpenChange={setIsOpen} defaultOpen={defaultOpen} side="right" style={{ pointerEvents: isDragging ? "none" : "auto" }} > <div ref={setNodeRef} style={{ position: "absolute", top: 0, left: 0, transform: `translate3d(${thread.metadata.x}px, ${thread.metadata.y}px, 0)`, }} > <CommentPin userId={thread.comments[0]?.userId} corner="top-left" /> </div> </FloatingThread> ))} </div> );}

Follow the draggable canvas Comments quickstart to learn how to set up placement mode, z-index management, and draggable thread components.

Permissions

Each canvas document is a room in your Liveblocks app, and permission groups can set access to the canvas. For example, your canvas may have an editor group and a viewer group. This can be set when modifying or creating a room, for example with Liveblocks.createRoom.

await liveblocks.createRoom(`my-room-id`, {  defaultAccesses: [    // No access by default  ],  groupsAccesses: {    // "viewers" group has read access    viewers: ["*:read"],  },  usersAccesses: {    // "olivier" has write access    olivier: ["*:write"],  },});

More complex controls can be set too, learn more under Permissions.

Examples

Explore complete implementations in our example gallery.