---
meta:
title: "Authentication"
description: "Authenticate your users in your application with ID tokens."
---
For production applications, we recommend using your secret API key to
authenticate users with **ID tokens**. Your public API key is only for
prototyping and public applications.
## Quickstart
}
/>
}
/>
}
/>
}
/>
}
/>
}
/>
---
Authentication and permissions solve two different problems:
- **Authentication** confirms who the current user is (`userId`) and optionally
which workspace they belong to (`organizationId`).
- **Permissions** define what an authenticated user can do with Liveblocks
resources such as rooms, comments, and feeds.
[Learn how permissions work](/docs/api-reference/authentication/permissions).
## Authenticate users with ID tokens [#id-token]
For production applications, we recommend using your secret API key to
authenticate users with **ID tokens**. Your public API key is only for
prototyping and public applications.
ID token authentication lets Liveblocks handle permissions for you. When you
create or update a room, you set permissions on the room itself, making the room
the source of truth. Later, when a user tries to enter the room, Liveblocks
checks those permissions and denies access when the user isn’t allowed in.
Permissions can be set for individual users, groups of users, or the whole room.
For available permission formats and scopes, see the
[permissions](/docs/api-reference/authentication/permissions) page.
If you don’t need fine-grained permissions, or if you’d prefer storing
individual room permissions in your own system, you can use
[access tokens](/docs/api-reference/authentication/access-token) instead.
### Authenticating [#id-token-authenticating]
Authenticating with ID tokens means creating a
[JSON Web Token](https://en.wikipedia.org/wiki/JSON_Web_Token) (JWT) that
identifies the current user when they connect to a Liveblocks room. Create this
token with
[`liveblocks.identifyUser`](/docs/api-reference/liveblocks-node#id-tokens) or
[`/identify-user`](/docs/api-reference/rest-api-endpoints#post-identify-user).
```ts
const { body, status } = await liveblocks.identifyUser({
userId: "olivier@example.com",
});
// '{ token: "eyJga7..." }'
console.log(body);
```
### Workspace permissions [#id-token-workspace-permissions]
Using [organizations](/docs/api-reference/authentication/organizations), you can
create workspaces in your application, compartmentalizing all resources such as
inbox notifications and rooms. This includes everything associated with rooms
such as comment threads, realtime data stored, and more. This allows you to add
a workspace switcher to your application, separating each of your
customers/organizations.
#### Set up workspace permissions
To set up workspace permissions, pass an `organizationId` when authenticating
the user. The user will only be able to access resources in that organization.
```ts
const { body, status } = await liveblocks.identifyUser({
userId: "olivier@example.com",
// +++
organizationId: "my-organization-id",
// +++
});
// '{ token: "eyJga7..." }'
console.log(body);
```
When creating a resource on the server, such as a room, pass the
`organizationId` to the resource, to allow the user access.
```ts
const room = await liveblocks.createRoom("my-room-id", {
defaultAccesses: ["*:write"],
// +++
organizationId: "my-organization-id",
// +++
});
// { type: "room", id: "my-room-id", metadata: {...}, ... }
console.log(room);
```
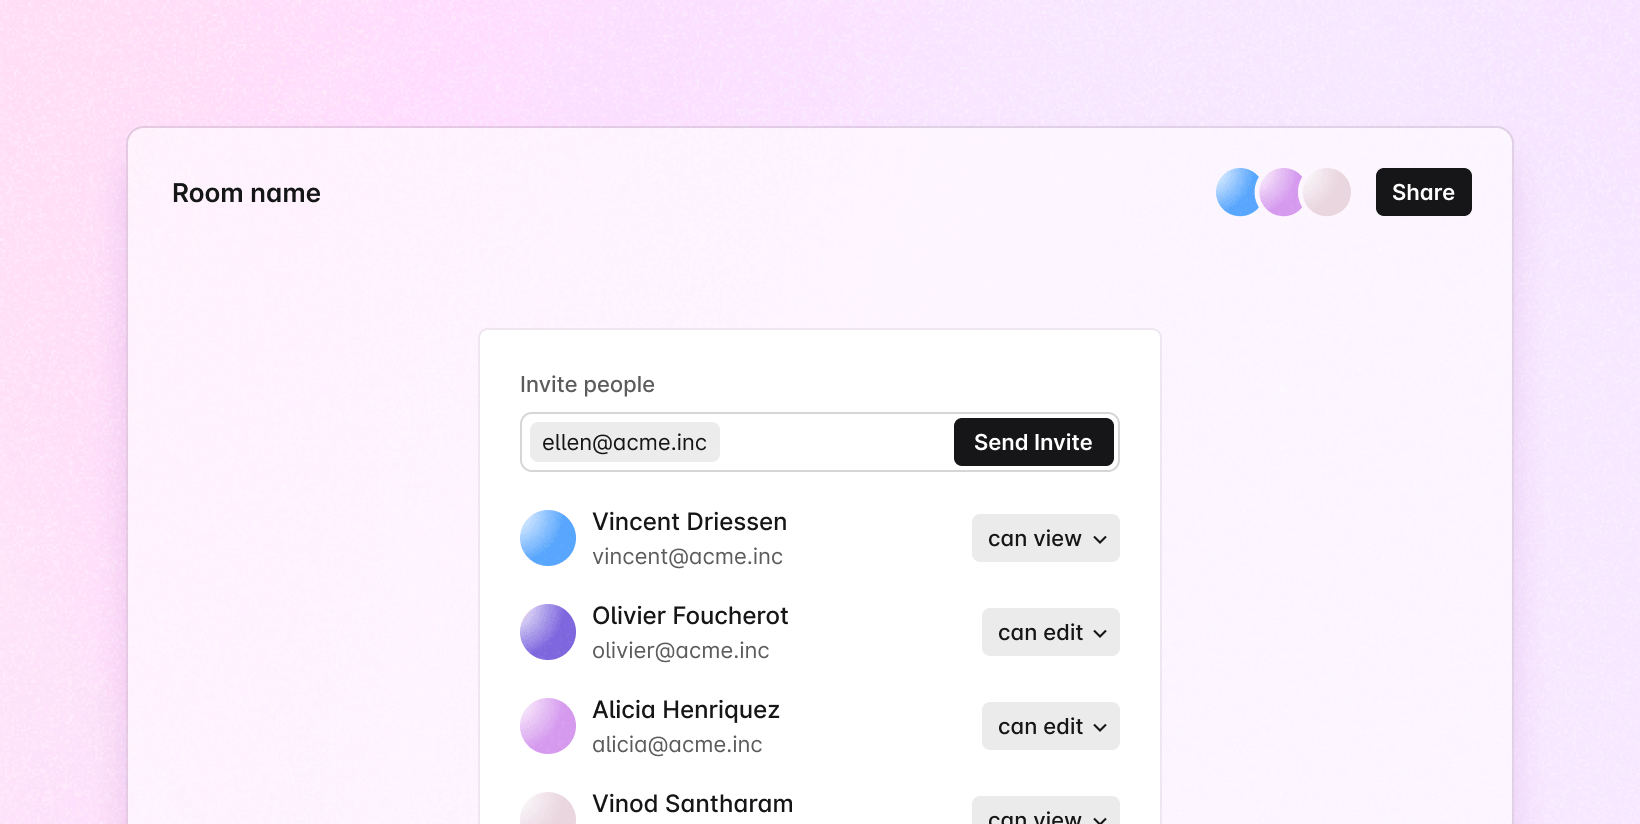
### Room permissions [#id-token-room-permissions]
ID token authentication allows you to set different permission types on rooms,
assigned at three different levels: default, groups, and users. The system is
flexible enough to enable you to build a permission system that’s helpful for
building invite dialogs, private rooms, and more.
To set room permissions, you can
[create](/docs/api-reference/liveblocks-node#post-rooms) or
[update](/docs/api-reference/liveblocks-node#post-rooms-roomId) a room, passing
permission information in the options.
```ts
const room = await liveblocks.createRoom("a32wQXid4A9", {
// This is a private room
defaultAccesses: [],
// But Olivier can enter
usersAccesses: {
"olivier@example.com": ["*:read"],
},
});
```
#### Permission levels [#id-token-permission-types]
Permission types can be applied at three different levels, enabling complex
entry systems.
defaultAccesses
The default permission types to apply to the entire room.
groupsAccesses
Permission types to apply to specific groups of users.
usersAccesses
Permission types to apply to specific users.
Each level further down will override access levels defined above, for example a
room with private access will allow a user with `*:write` access to enter.
#### Default room permissions
The `defaultAccesses` level is used to set the default permissions of the entire
room.
When used in our APIs, this property takes an array, with an empty array `[]`
signifying no access. Add permission types to this array to define the default
access level to your room.
```ts
// Private - no one has access by default
"defaultAccesses": []
// Public - everyone can edit and view the room
"defaultAccesses": ["*:write"]
// Read-only - everyone can view the room
"defaultAccesses": ["*:read"]
```
##### Setting room access
We can use
[`liveblocks.createRoom`](/docs/api-reference/rest-api-endpoints#post-rooms) to
create a new room with public access levels:
```ts highlight="2"
const room = await liveblocks.createRoom("a32wQXid4A9", {
defaultAccesses: ["*:write"],
});
```
The default permission types can later be modified with
[`liveblocks.updateRoom`](/docs/api-reference/liveblocks-node#post-rooms-roomId),
in this example turning the room private:
```ts highlight="2"
const room = await liveblocks.updateRoom("a32wQXid4A9", {
defaultAccesses: [],
});
```
#### Groups permissions
The `groupsAccesses` level is used to set the default permissions of any given
group within a room.
Groups are represented by a `groupId`—a custom string that represents a
selection of users in your app. Groups can be attached to a user by passing an
array of `groupId` values in `groupIds`, during authentication.
```js highlight="10"
import { Liveblocks } from "@liveblocks/node";
const liveblocks = new Liveblocks({
secret: "{{SECRET_KEY}}",
});
export async function POST(request: Request) {
const { status, body } = await liveblocks.identifyUser({
userId: "marie@example.com",
groupIds: ["engineering"],
});
return new Response(body, { status });
}
```
In our APIs you can then set group accesses by using the `groupId` as the key,
and an array of permissions as the value.
```ts
// "engineering" group has access to view and edit
"groupsAccesses": {
"engineering": ["*:write"],
}
```
##### Modifying group access
To allow an “engineering” group access to view a room, and modify their
presence, we can use
[`liveblocks.updateRoom`](/docs/api-reference/liveblocks-node#post-rooms-roomId)
with `engineering` as a `groupId`:
```ts highlight="3"
const room = await liveblocks.updateRoom("a32wQXid4A9", {
groupsAccesses: {
engineering: ["*:read"],
},
});
```
After calling this, every user in the “engineering” group will have read-only
access. To remove a group’s permissions, we can use
[`liveblocks.updateRoom`](/docs/api-reference/liveblocks-node#post-rooms-roomId)
again, and set the permission type to `null`:
```ts highlight="7"
const room = await liveblocks.updateRoom("a32wQXid4A9", {
groupsAccesses: {
engineering: null,
},
});
```
#### User permissions
The `usersAccesses` level is used to set permissions of any given user within a
room.
To use this, first a user is given a `userId` during authentication.
```js highlight="9"
import { Liveblocks } from "@liveblocks/node";
const liveblocks = new Liveblocks({
secret: "{{SECRET_KEY}}",
});
export async function POST(request: Request) {
const { status, body } = await liveblocks.identifyUser({
userId: "ellen@acme.inc",
});
return new Response(body, { status });
}
```
Then, if you want the user with the `userId` id to make edits, set `userId` to
`["*:write"]` within `usersAccesses` when creating or updating a room.
```ts
// user with userId "ellen@acme.inc" has access to view and edit
"usersAccesses": {
"ellen@acme.inc": ["*:write"]
}
```
##### Checking user access
To give them room permission, we can use
[`liveblocks.updateRoom`](/docs/api-reference/liveblocks-node#post-rooms-roomId),
setting write access on their `userId`:
```ts highlight="3"
const room = await liveblocks.updateRoom("a32wQXid4A9", {
usersAccesses: {
"ellen@acme.inc": ["*:write"],
},
});
```
To check a user’s assigned permission types for this room, we can then use
[`liveblocks.getRoom`](/docs/api-reference/liveblocks-node#get-rooms-roomId) and
check `usersAccesses`:
```ts
const room = await liveblocks.getRoom("a32wQXid4A9");
// { "ellen@acme.inc": ["*:write"] }
console.log(room.data.usersAccesses);
```
## Select your framework [#select-your-framework]
Select your framework for specific instructions on setting up ID token
authentication.
}
/>
}
/>
}
/>
}
/>
}
/>
}
/>
---
For an overview of all available documentation, see [/llms.txt](/llms.txt).